
Thanksgiving 101, Part 2: How to Prep the Perfect Thanksgiving Turkey
October 30, 2026
You’ve planned your menu, counted your guests, bought the groceries, and mapped out your cooking space. Now it’s time for the star of the show: the Thanksgiving turkey. With time to thaw, a little planning, and the right tools, you can have your bird prepped and ready for the recteq before Thanksgiving morning.
When Should You Thaw Your Thanksgiving Turkey?
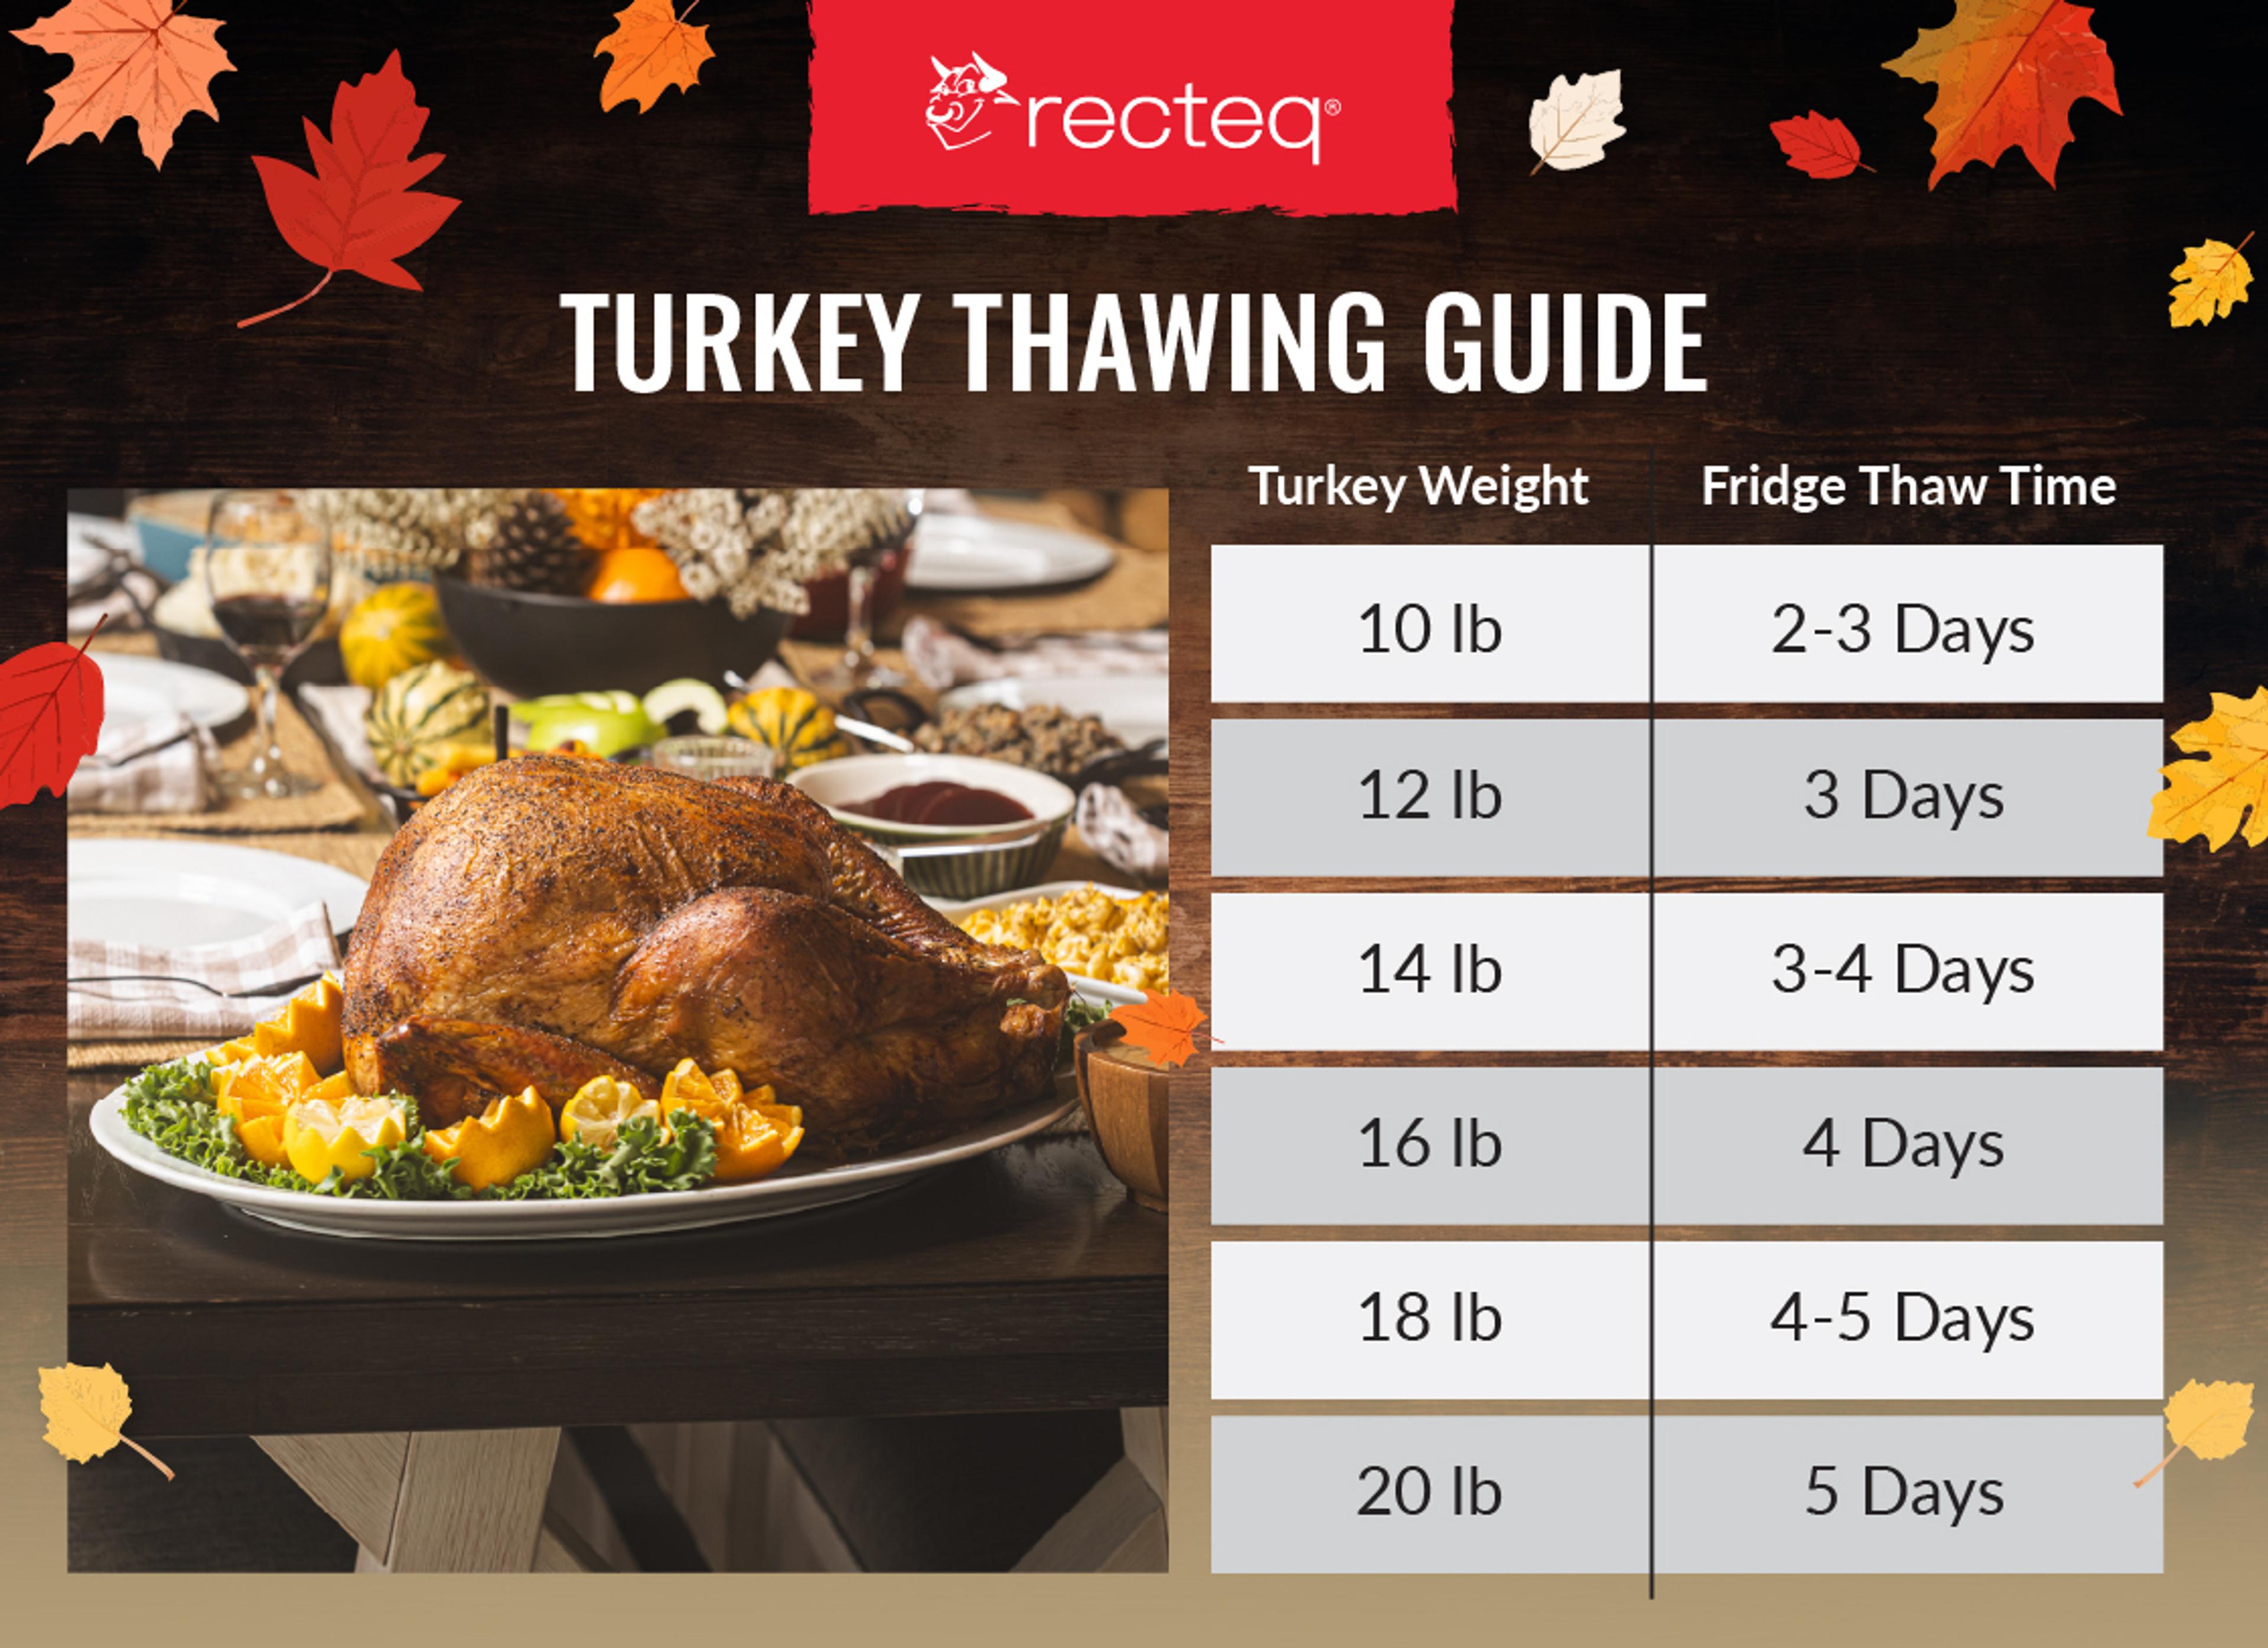
Plan for about one day of refrigerator thawing for every four to five pounds of frozen turkey. That means a 15-pound turkey will need around three to four days to thaw. For a 20 to 24-pound bird, you can expect 5-6 days. Place the turkey in a pan while it thaws in the refrigerator. And if you can, give yourself a little extra time.
Which is best for Thanksgiving? Whole vs. Spatchcock Turkey
Next question: are you going traditional or spatchcock? A whole turkey gives you that classic Thanksgiving centerpiece and requires less prep. A spatchcock turkey has the backbone removed so the bird can lie flat. This promotes more even cooking, shortens cook time, and helps improve crispy skin.
Tablescape Tip: Worried a spatchcocked turkey won’t have that classic Thanksgiving centerpiece look? Arrange it on a large platter with herbs, citrus, or roasted vegetables. It can still be the star of the table.
Should You Brine or Inject a Thanksgiving Turkey?
The good news? Both work exceptionally well on a recteq, especially when paired with the natural wood-fired flavor that recteq owners love.
Brining means soaking the turkey in a seasoned, salt-based solution before cooking. It helps season the meat throughout, protect it from drying out, and create a tender, juicy turkey.
Brining is especially great for:
- First-time turkey cooks
- Traditional Thanksgiving flavor
- Anyone prepping the night before
Keep it simple with recteq Poultry Brine and a brining bucket and bag for easier prep and cleanup.
Injecting delivers seasoned liquid directly into the breast, thighs, and drumsticks in just a few minutes, giving more flexibility to play with flavors.
Best for:
- Last-minute preparation
- Maximum flavor impact
- Experienced grillers
Our recommended Thanksgiving formula: Brine your turkey for 12 to 24 hours, pat it thoroughly dry, then season the exterior with recteq Poultry Rub.
How to Get Crispy Turkey Skin
Want that beautifully browned, crispy turkey skin? Start before the bird ever hits the grill.
- Make sure your turkey is completely thawed.
- Pat the skin thoroughly dry.
- Season the exterior evenly.
- Spatchcock for more exposed skin and even cooking.
- Plan on increasing the heat during the cook to help crisp the skin.
We’ll get into the exact temperatures in Part 3, but the recteq smoke-and-finish method starts around 225°F for wood-fired flavor before increasing the temperature to 325°F to 350°F to finish and crisp the skin.
Should You Baste a Turkey?
Let your seasoning do the heavy lifting.
Instead of focusing on constant basting, build flavor before your cook with your brine, injection, rub, or a combination that works for you. Also, save those turkey drippings. Catch them in a pan so you can put all that flavor to work in your Thanksgiving gravy or dressing.
What Are the Best Pellets for Turkey?
Pellets are another easy way to put your spin on the flavor. Whichever flavor you choose, make sure your stocked up ahead of time.
- Oak: Balanced smoke
- Hickory: More traditional barbecue flavor
- Apple: Slightly sweet and subtle
Prep Your recteq Before Thanksgiving
Take a few minutes before the big day to get your grill ready, too. Clean out accumulated grease, check your temperature probes, make sure your turkey and drip pan fit, and stock up on pellets.
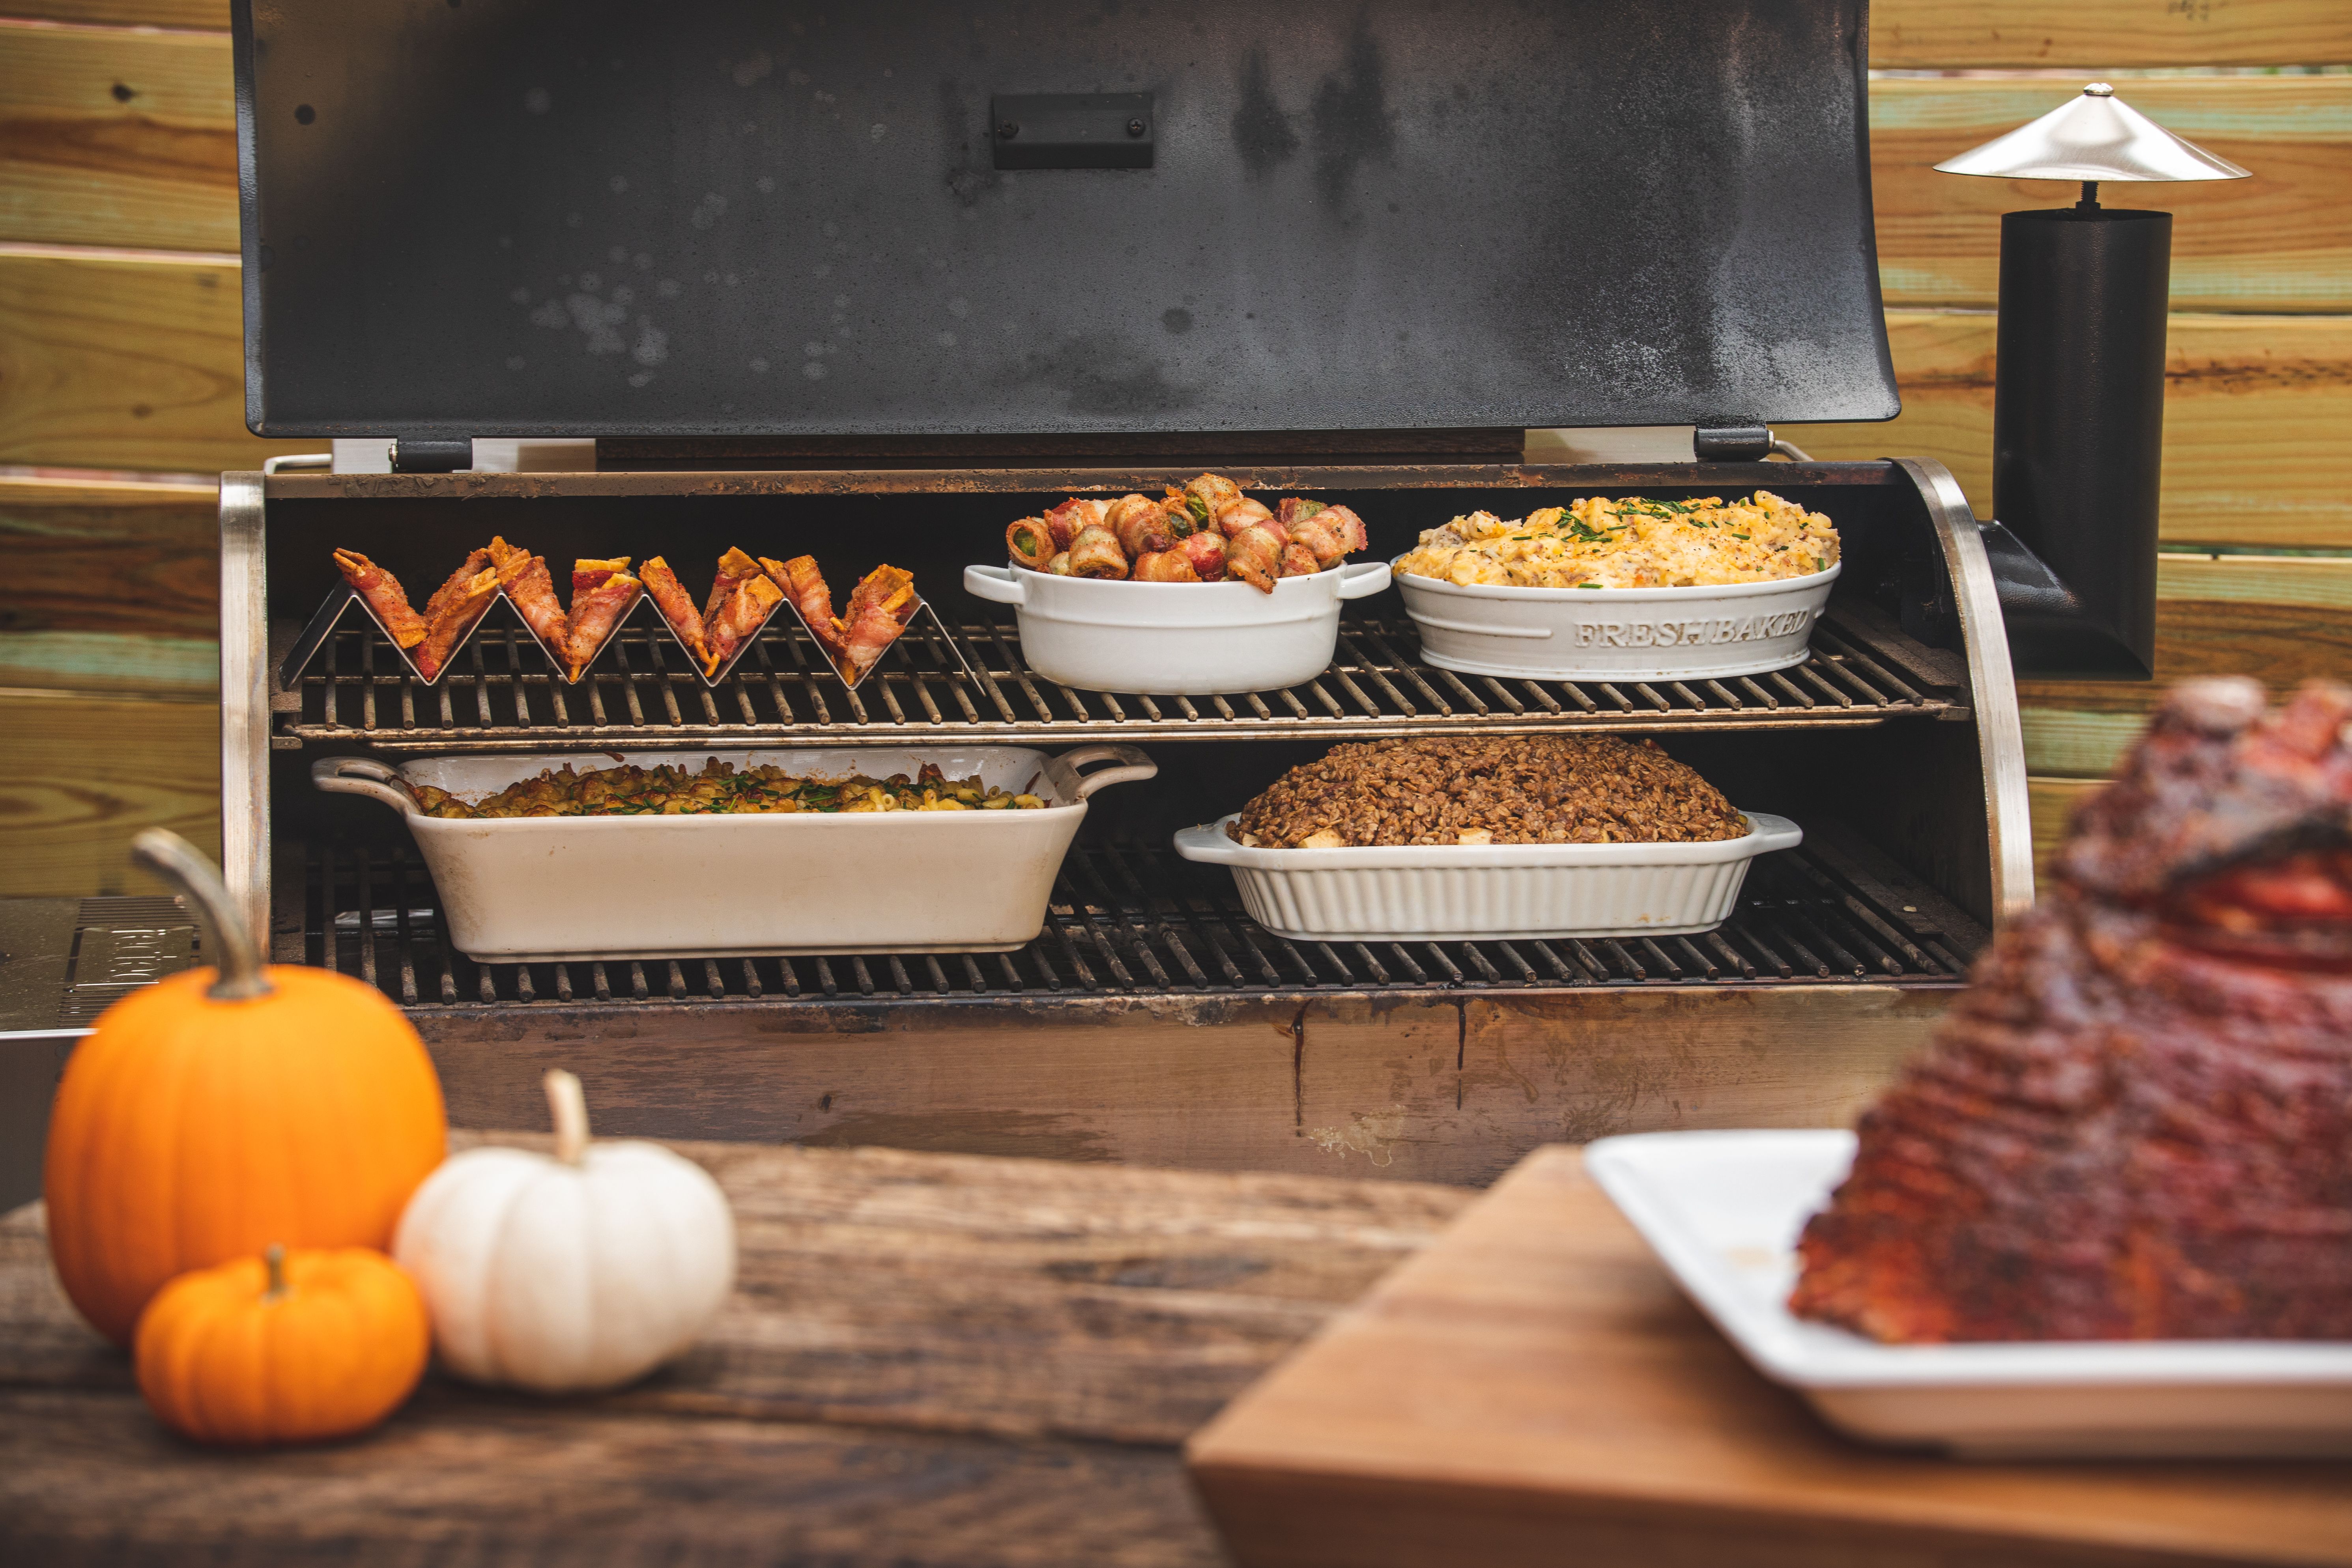
Chef Tip: More cooking space doesn’t mean you have to fill every inch. Avoid overcrowding your recteq and leave room for airflow, especially if you’re including sides or desserts.
Your Thanksgiving Turkey Prep Checklist
By the night before Thanksgiving, make sure:
- Turkey is completely thawed
- Neck and giblets are removed
- You’ve chosen whole or spatchcock
- Turkey is brined, injected, and/or seasoned
- Skin is thoroughly dry
- Grill is clean and ready
- Temperature probes are on hand
- Drip pan is ready
- Pellet hopper is full
- Extra pellets are nearby
- Serving platter and carving tools are ready
The goal is simple: do the prep now so Thanksgiving morning can be about cooking, not scrambling.
Now that your turkey is thawed, seasoned, and ready for the heat, head on over to the next blog post in our Thanksgiving series. Together we’ll tackle the actual cook, including temperatures, timing, temperature-probe placement, resting, carving, and what to do if that turkey gets done a little earlier or later than planned.